HOW TO: Manage your Business’s Menu
By: Paul Brinkmann
- Compatible plans: Premium Profile
- Compatible categories: Food, Bars
Step 1: Navigate to your Business Dashboard
Prefer a link? Right here: sceneit.us/dm/my-business
Otherwise, press the Log In button:

On mobile:

Then, once you’ve logged in, you’ll see a page that looks like this:
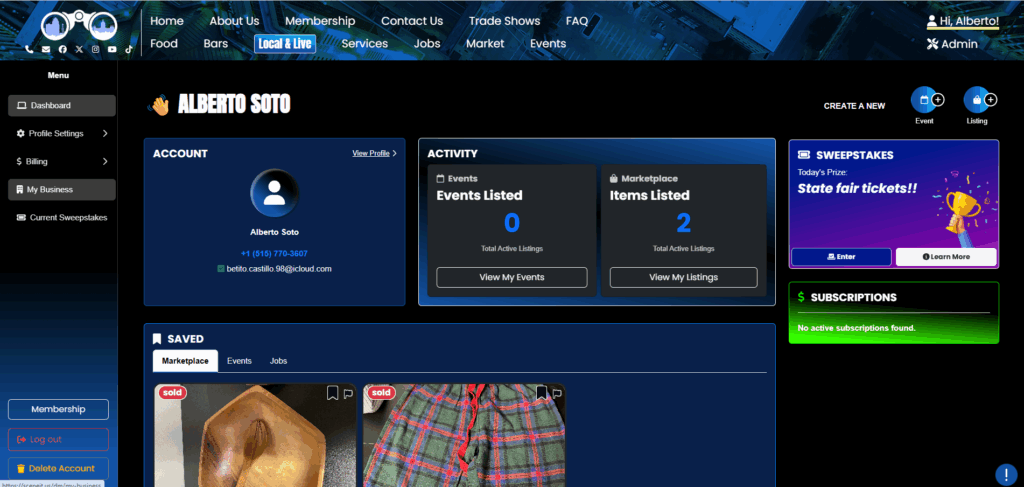
Hover over the menu in the left and press My Business! On mobile, it will just be there 🙂
Step 2: Navigate to the “Menu” section of your Business’s Dashboard
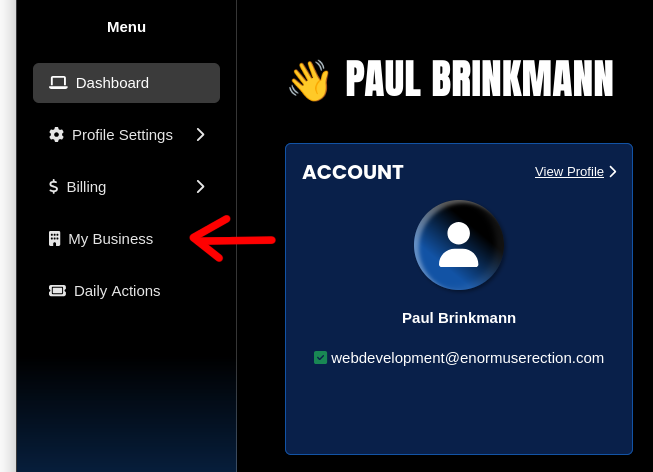
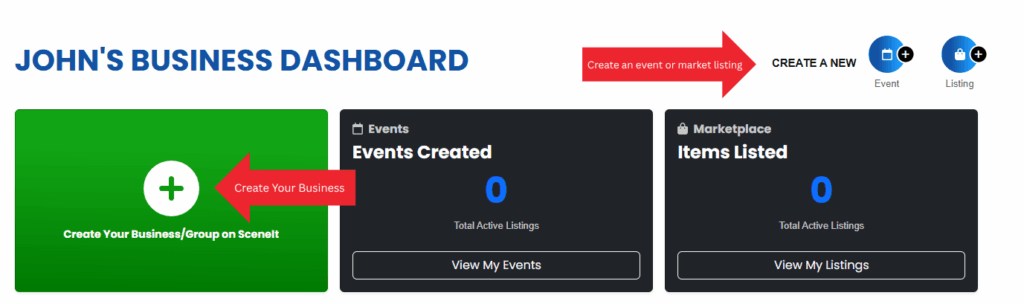
Here, you’ll see your Business Dashboard! This is what it will look like:
Or
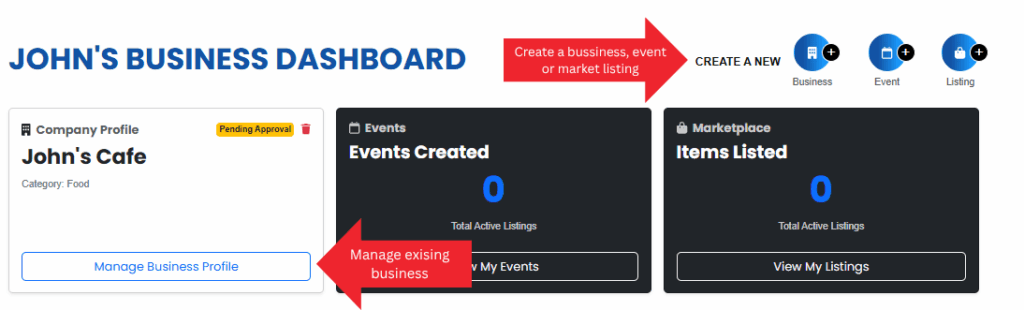
Depending on whether or not your business is already in our system and associated with your account. For more information on this view, check out HOW TO: Create and Manage Your Business
Once you have a business in our system, press the Manage Business Profile button on the business you wish to manage the menu on!
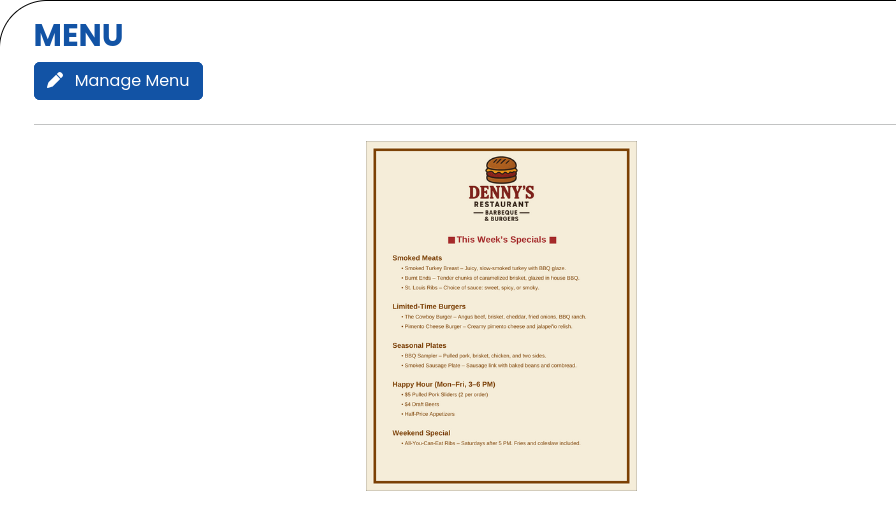
Once you reach the Business Menu, you will see this tab:

NOTE: You must be on the Premium Profile plan to have this feature. To learn how to upgrade, check out HOW TO: Manage Your Business’s Plan
Step 3: Menu page overview
Currently, our menu system just supports images – you’ll have to create each page and export it to an image yourself (jpg or png work great!). Once you have your images, you’re good to go! If you don’t have menu images yet, we’d recommend taking a look at Canva – they have powerful tools for this kind of thing!
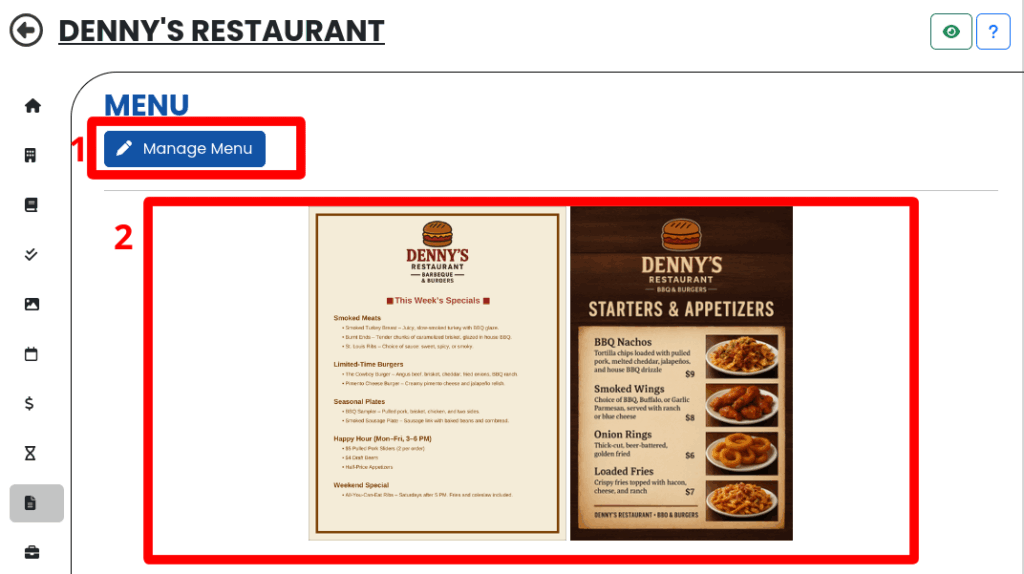
- The 🖊️ Manage Menu button! This one allows you to manage all the menu images you have uploaded – remove, add more, or reorder here!
- This is the menu images that you have! As you change them up, your changes will be reflected here!
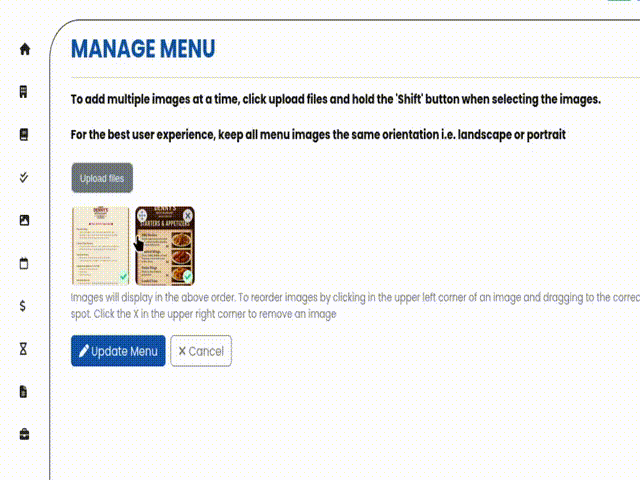
Step 4: Manage your Menu
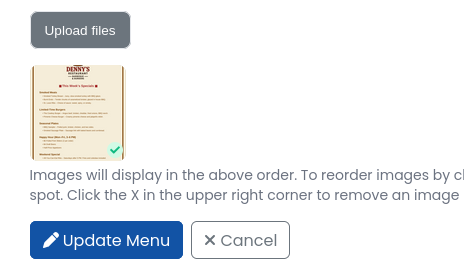
First, a brief overview of this page!
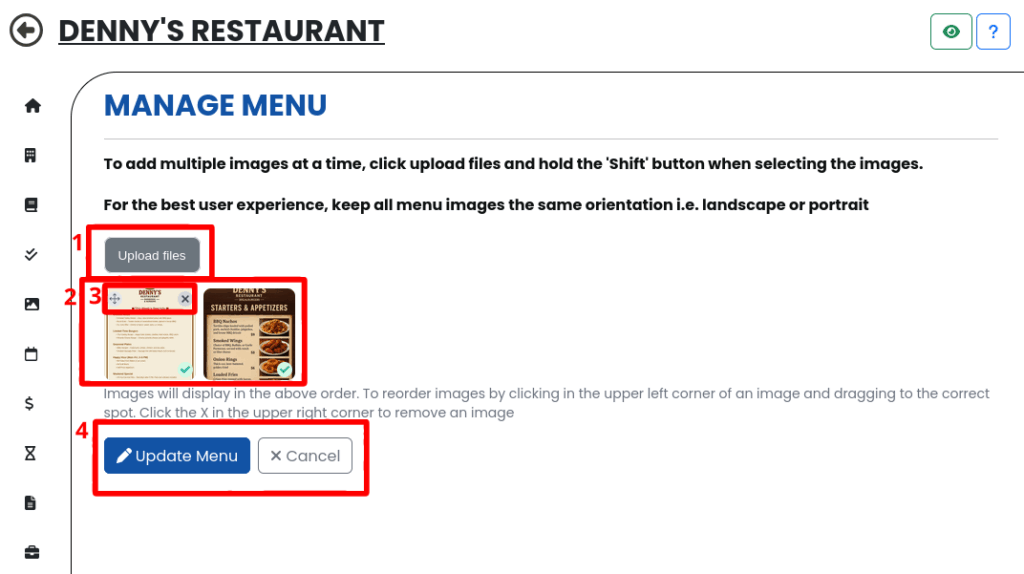
- The Upload files button allows you to add more images!
- These are the images that you already have uploaded. Their previews are just forced square, they will preserve their aspect ratio and resolution!
- These are the per-image controls. With these, you can remove (x in the top right) or click + drag to reorder (✢ this icon in the top left)
- The finish buttons!
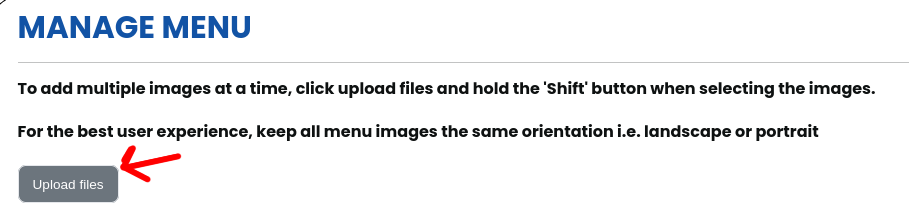
Step 4.1: Upload images
First, press the Upload files button! That will bring you to your system’s file explorer. In there, find the files you want to upload – you can select them all at this step!
Step 4.2: Ordering images
To change the order, click & drag the ✢ in the top left of the image you wish to reposition! Then, drag it to the position you want it to be in.
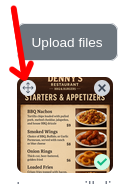
Take a look:
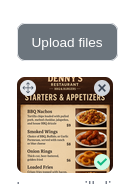
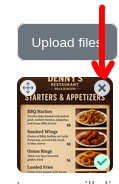
Step 4.3: Removing images
This is pretty simple! On the image you wish to remove, hover over it so the controls appear:
And then, press the x!
You will be prompted to confirm that you are sure. Press OK!
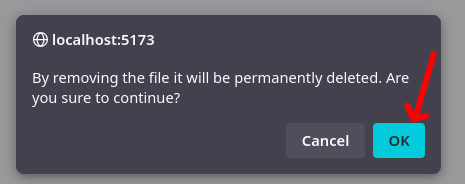
Then boom, it will be gone!
Step 4.4: Save your changes
Just press 🖊️ Update Menu once you’re done!
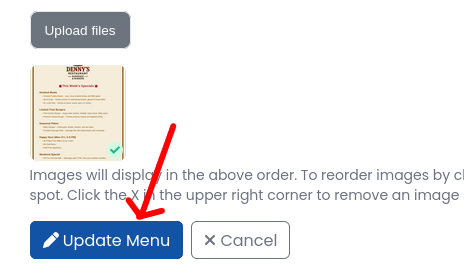
And boom, changes saved!
Step 7: Admire your work!
I’ve added a few more to mine just to make it more realistic. Take a look!
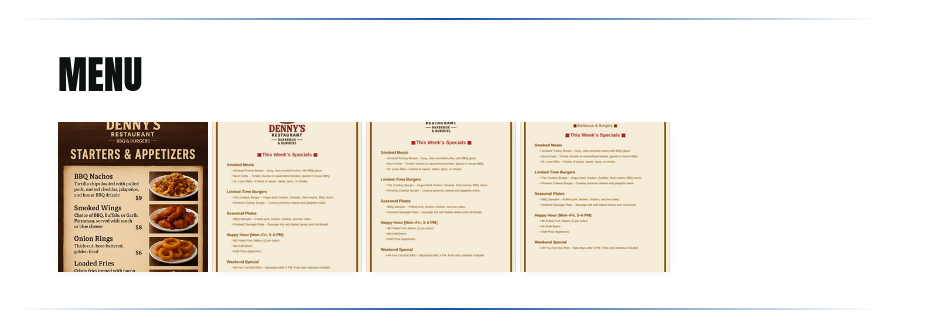
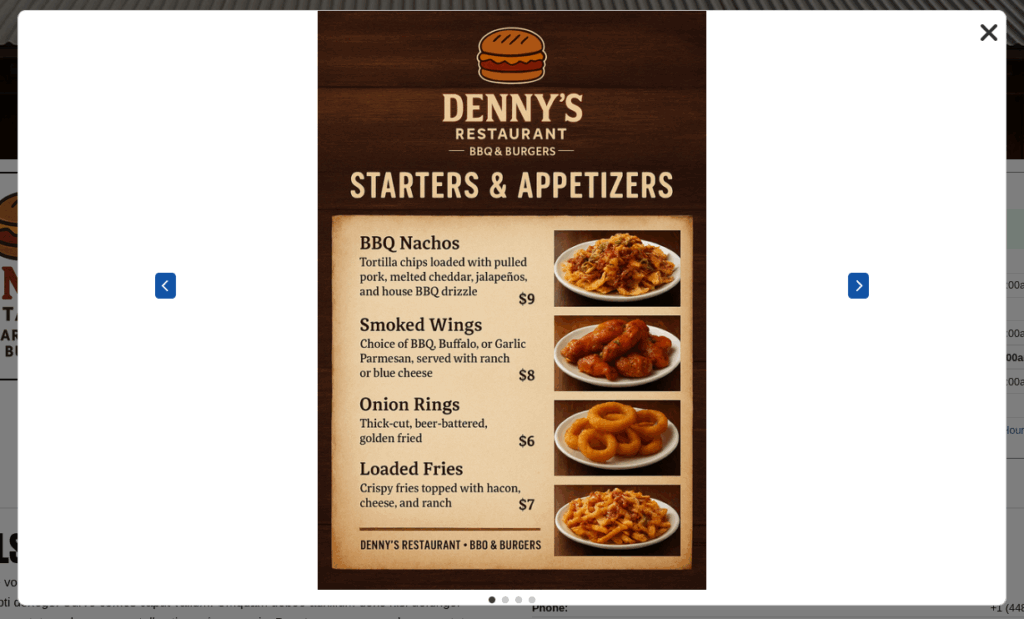
And, now, if a user clicks on one of the images, the pop up that shows will show the user the full size image and allow them to scroll between menu images!
Awesome! 🙂
Thank you for trusting SceneIT with your business! Don’t hesitate to contact us if you have any questions or need any help!