HOW TO: List Events as a Business
By: Paul Brinkmann
- Compatible plans: Premium Profile, Advanced Vendor, Service Provider
- Compatible categories: All
Step 1: Navigate to your Business Dashboard
Prefer a link? Right here: sceneit.us/dm/my-business
Otherwise, press the Log In button:

On mobile:

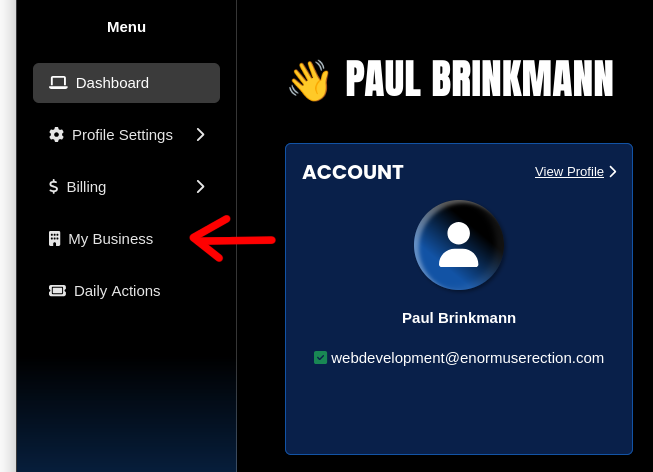
Then, once you’ve logged in, you’ll see a page that looks like this:
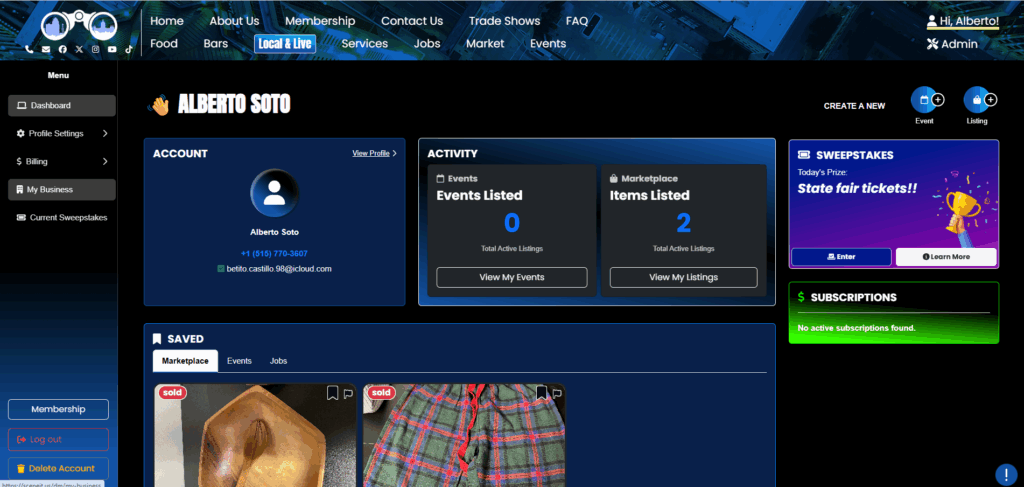
Hover over the menu in the left and press My Business! On mobile, it will just be there 🙂
Step 2: Navigate to the “Events” section of your Business’s Dashboard
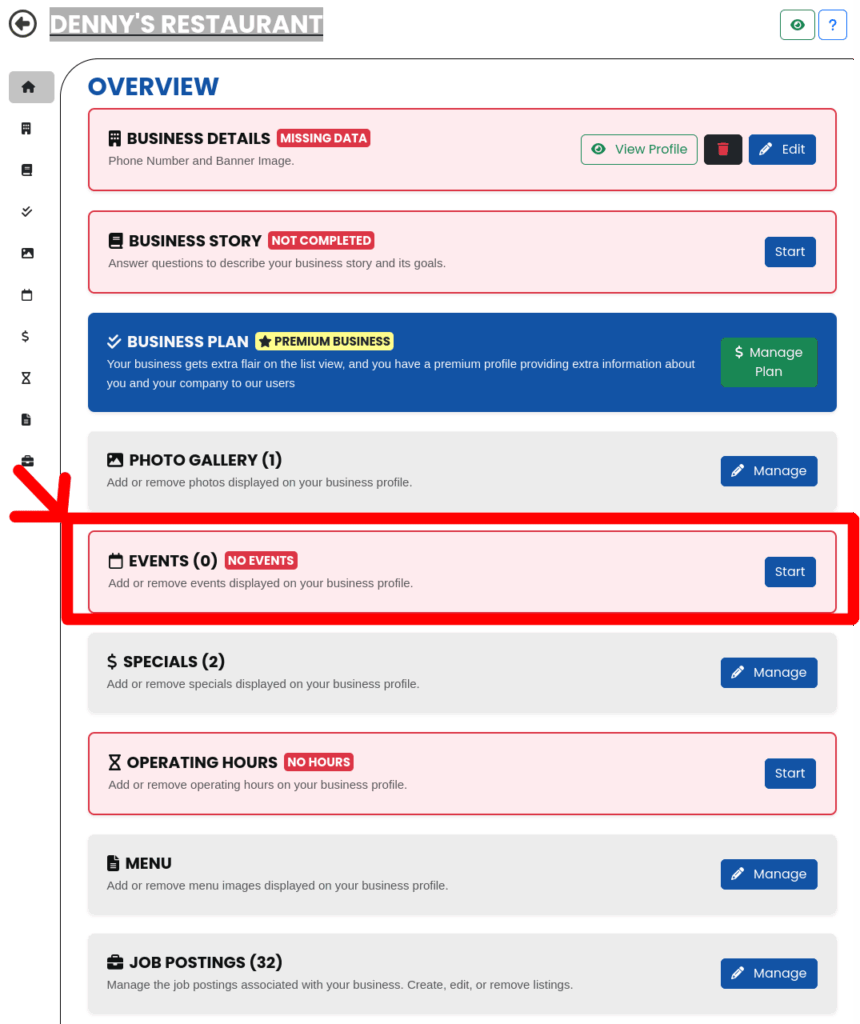
Here, you’ll see your Business Dashboard! This is what it will look like:
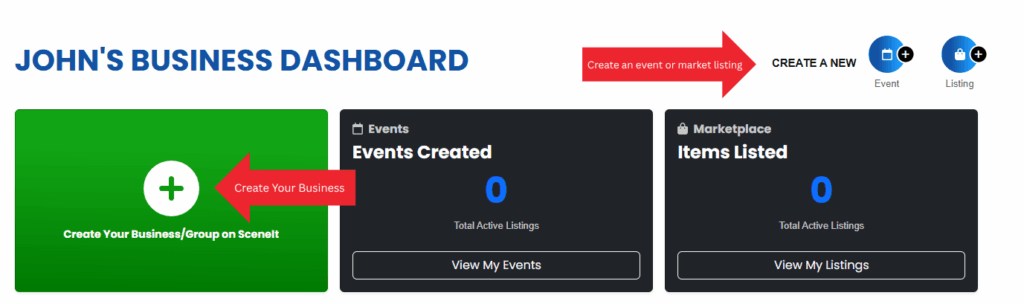
Or
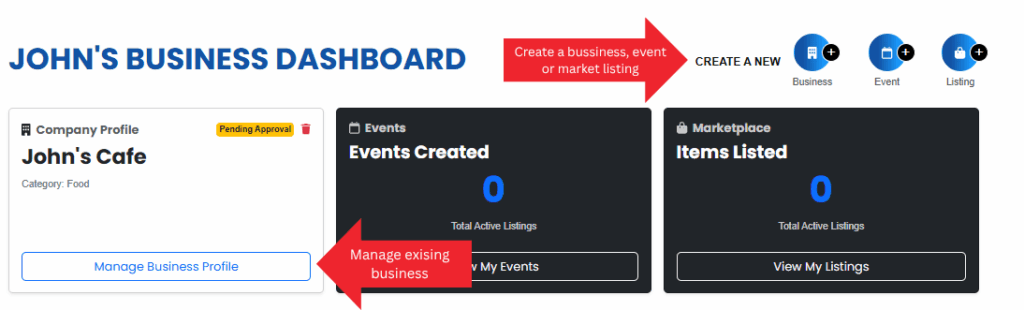
Depending on whether or not your business is already in our system and associated with your account. For more information on this view, check out HOW TO: Create and Manage Your Business
Once you have a business in our system, press the Manage Business Profile button on the business you wish to manage the events on!
Once you reach the Business Menu, you will see this tab:
NOTE: You must be on one of the Premium Profile, Advanced Vendor, or Service Provider plans to have an events page. To learn how to upgrade, check out HOW TO: Manage Your Business’s Plan
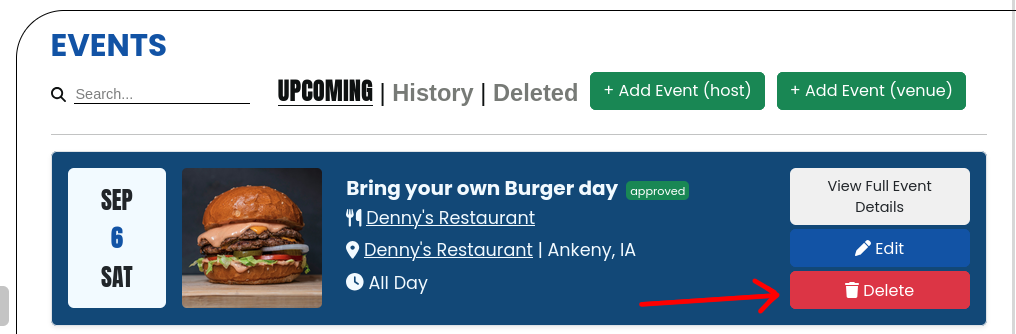
Step 3: Events page overview
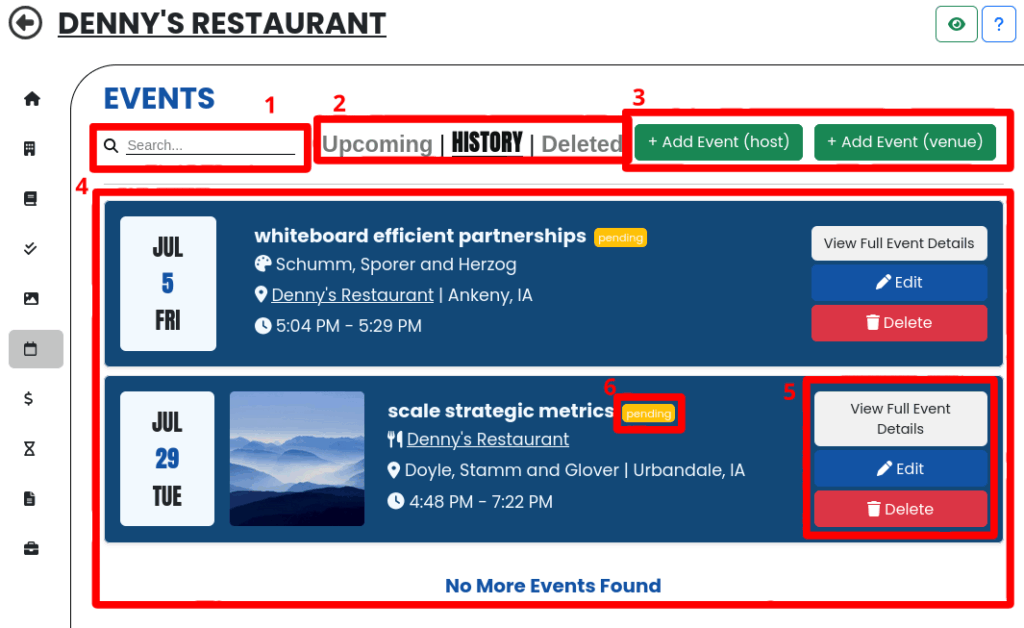
- Search Bar – Searches your events by name!
- Tab Lists – Show different categories of your items (currently Upcoming, History, or Deleted)
- Add Event Buttons – Create a new event for your business! *
- Your Events – A list of all the events listed by your business, that match the provided filters
- Event Controls – Buttons that allow you to 👁️ view, 🖊️ edit, or 🗑️delete your event!
- Event Approval Status – the approval status of your event! Admins must approve your event for it to appear on our site
A note on the difference between Venue and Host – As you’ll notice, we have two create buttons! One will set your business as the Host, and the other as the Venue. So, what’s the difference?
Well, it’s pretty simple! If your business is the Venue, your business will be listed as the location for the event, whereas if your business is the host they will be listed as related to the event. As an example, think of a Taylor Swift concert at the Casey’s center – Taylor Swift would be the Host, and Casey’s Center would be the Venue! Think “Runner” or “Primary Performer” or “Entertainment” for Host and “Location” for Venue!
You can, also, have your business listed as both!! Think, for example, a Trivia night at Mother’s Pub. It would make sense to have Mother’s Pub listed as both the host and venue, because Mother’s Pub is hosting the trivia night at their own location!
Also, a note on permissions – for the Host, as a non-admin user you can only select businesses you own. However, as a venue, you can select from a wide array of businesses from our system that are likely to be a venue. If you need help getting the information right, please let us know!
Also – All events associated with your business, either as a host or a venue, will appear on your business’s profile!
Step 4: Create an event
Press one of the + Create Event buttons – use the note above to determine which one is right for you! Doing so will bring you to this form:
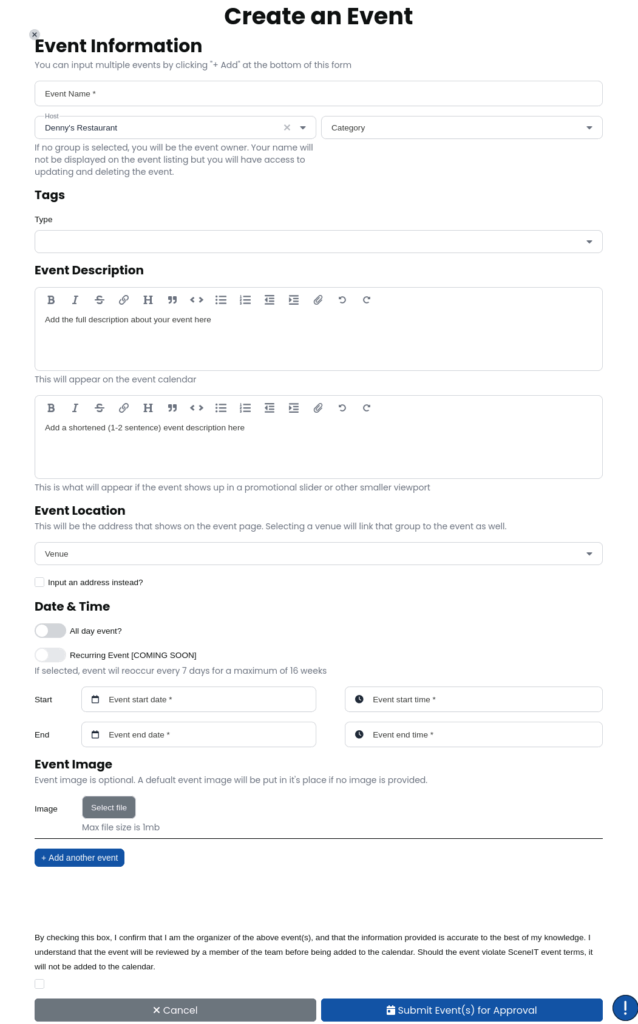
One cool thing about this form is you can add multiple events at the same time!!
Fill it out with the most accurate information possible about your event. A good event might look something like this:
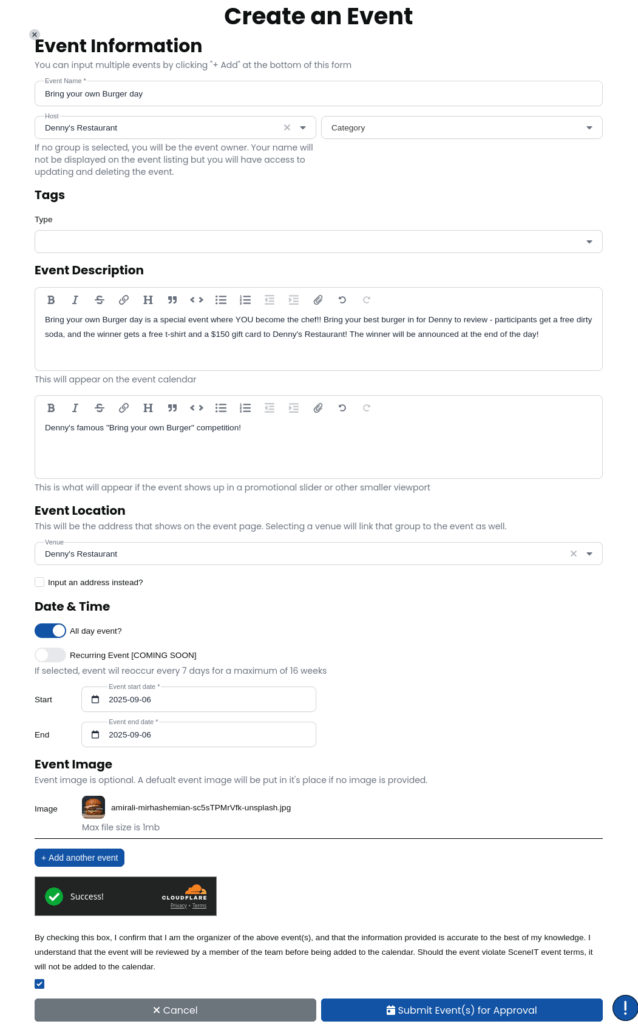
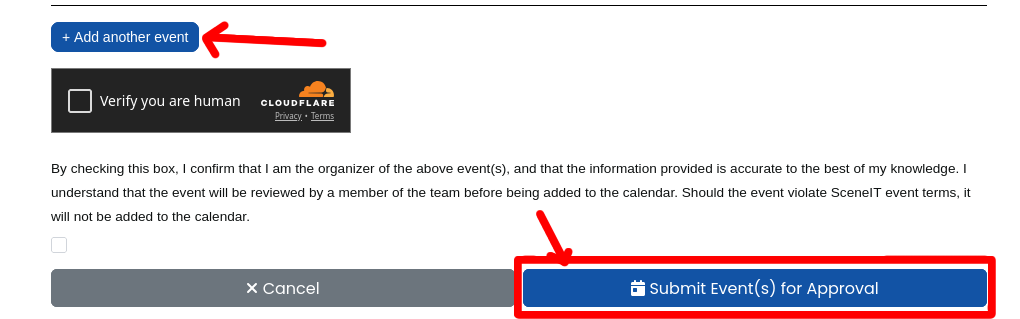
Sweet! now, click the blue 🗓️ Submit Event(s) for Approval button in the bottom right!! (Or, if you wish to submit multiple, press the + Add another event button above the bot detection widget!)
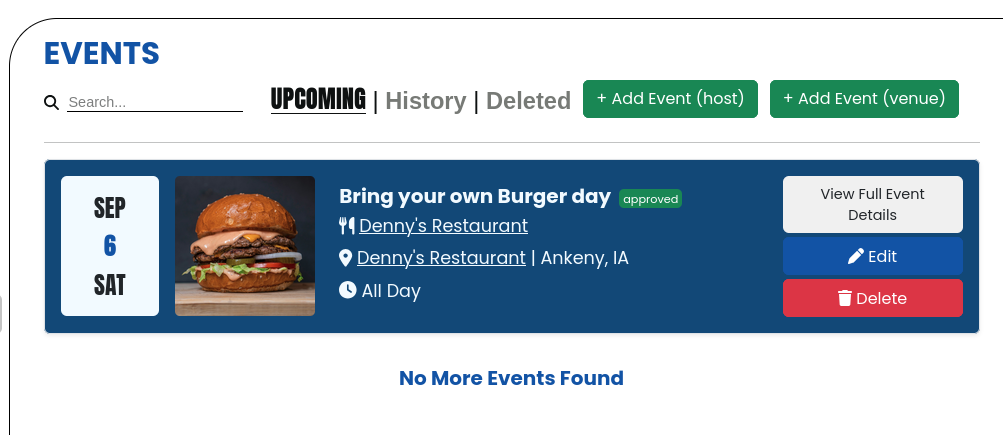
This will take you back to your upcoming events list, where you should now see the event(s) you just created (as long as they’re in the future)! This is what mine looks like:
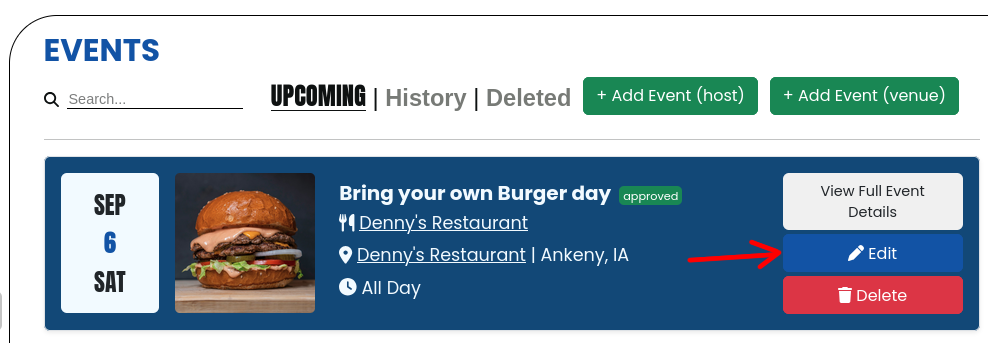
Step 5: Edit an event
First, click the blue 🖊️ Edit button:
This will bring you to a populated form!
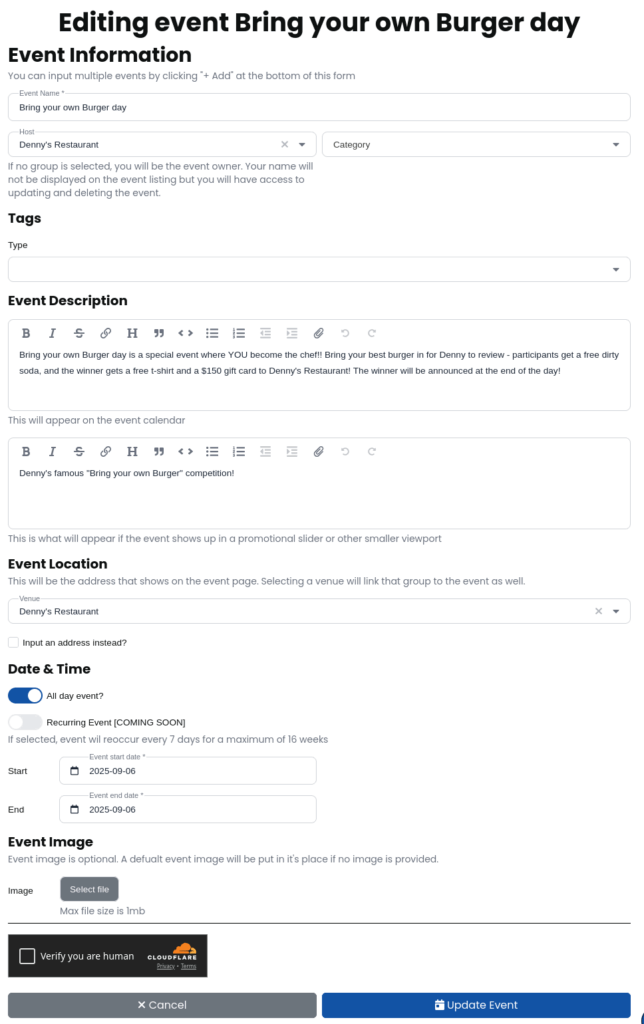
Once you’re done changing your event, press 🗓️ Update Event!

And, now, your event should be up to date!!
Step 6: Delete an event
Press the red 🗑️ Delete button on the event you wish to delete here!
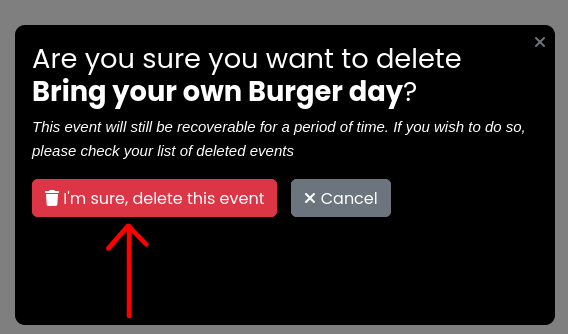
A confirmation dialogue will pop up. If you’re sure, press 🗑️ i’m sure, delete this event!
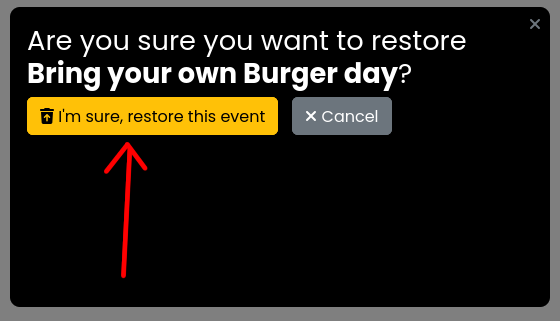
Once you’ve deleted the event, it will be recoverable for 30 days! You can restore it in the Deleted tab on your events page. To restore, simply press the restore button!

You will have to press the i’m sure, restore this event button in the confirmation pop-up!
Step 7: Admire your work!
I’ve created a few more events to spruce up my event portfolio
To see yours, click on the green 👁️ in the top right of your Business Menu, or navigate back to the Overview on mobile and find it there!

mobile:

And scroll down to the events section! Here’s what mine looks like:
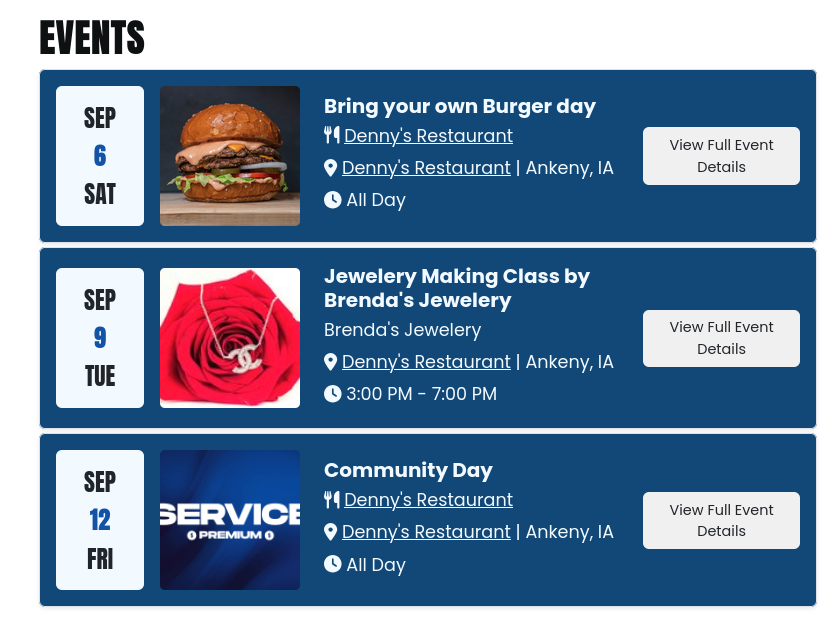
Awesome!! Now of course, mine is not actually real. But yours will actually be visible to the public, and events listed here will also show up on the SceneIT events calendar!!
Thank you for trusting SceneIT with your business! Don’t hesitate to contact us if you have any questions or need any help!