HOW TO: List your Event on SceneIT
By: Paul Brinkmann
Want to list your event on the SceneIT calendar? Awesome!
Few things to note before we get into it:
- As a guideline, events listed on our calendar are events for the general public
- You can include a payment link or ticket information in the event description, but we do not currently have an easy integrated way to do something like that – someday!
- Please, read our terms of use before listing an event, and ensure your event does not violate any guidelines for being on SceneIT
Are you listing an event for a business? HOW TO: List Events as a Business
Step 1: Log In / Create an Account
First, you must have an account with us to list events! To do this, navigate to the “Log In” button in the top right of your screen [DESKTOP]

or click the “More” button and in the menu that brings up click the “Account” button
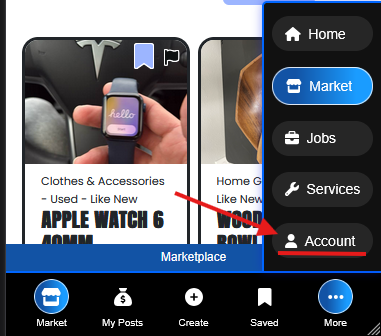
From here, either log in or create an account!!
Step 2: Navigate to the Form
Prefer a link? sceneit.us/dm/calendar
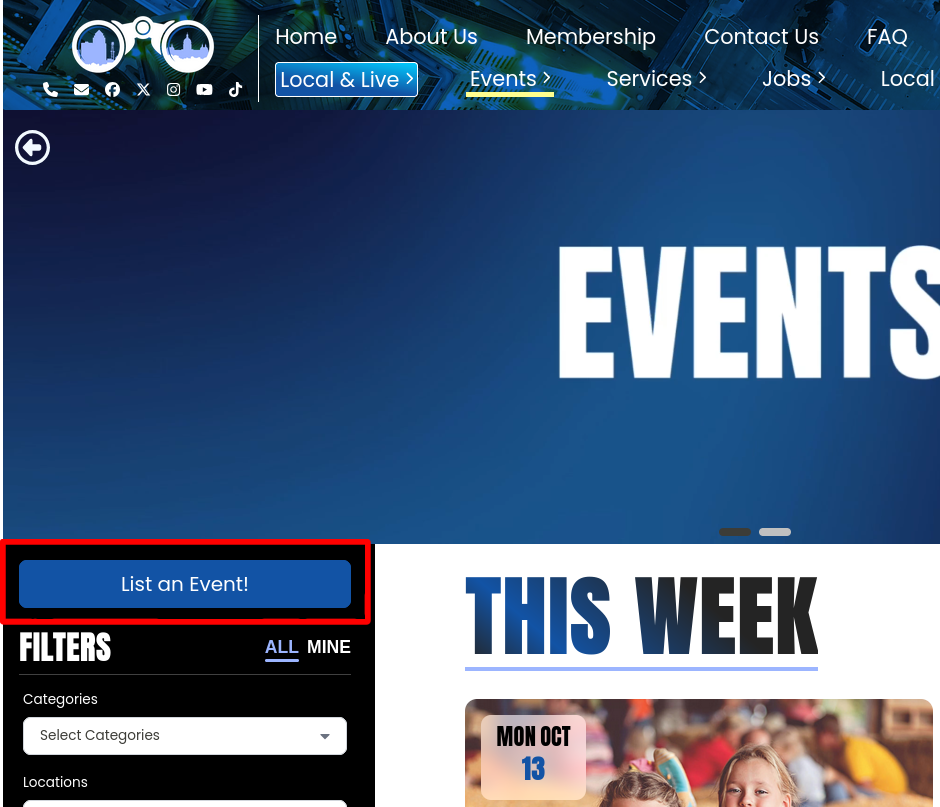
Or, press View All under the Events drop-down in the navbar:

Then, press the big blue List an Event button on this page!
Step 3: Create an event
In this form, you can create your event! Here’s what it looks like:
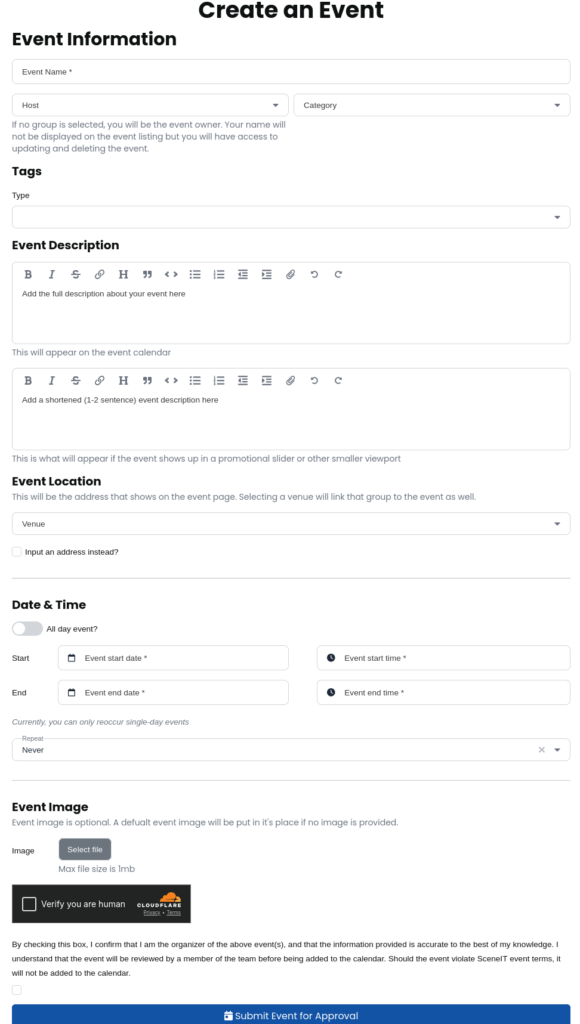
Here’s an example of what mine looks like!
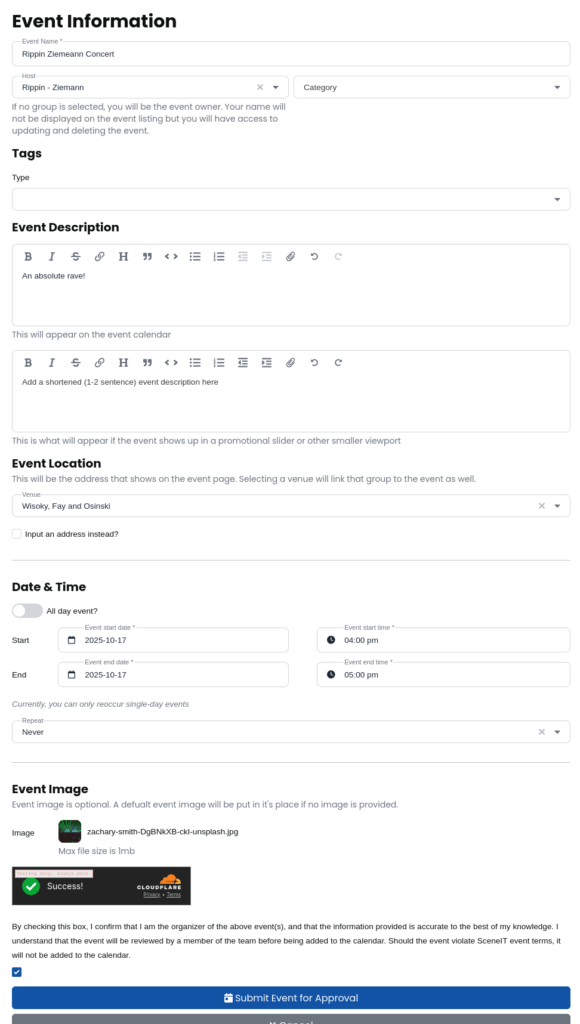
Few things:
- For Host, you can only select groups that you own as the host
- To input a recurring event, change the value in the Repeat field
- For Venue, this is limited to groups that are in our site and in a specific set of categories: Venues, Food, Bars, and Parks
Once you’re done, press Submit Event for Approval!

Now, your event will be created! You will be able to see it under the MINE tab on the calendar page
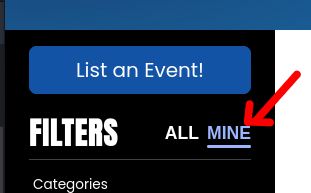
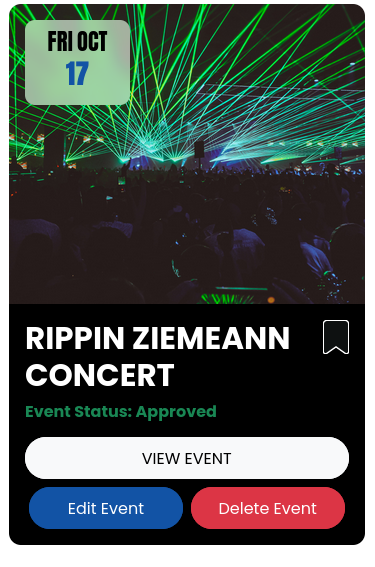
Here, you will see the status of your event – when you create an event, it is submitted for admin approval. Once approved, it will display in the general calendar! You can view the status of your event any time in the mine tab:

Step 4: Edit an event
Want to change something about your event? Great! Navigate to the MINE tab:
And then press the “Edit Event” button on the event you wish to edit

That will bring up the form with the event data populated!
Update the details as you see fit, and then press Update Event:

If it’s a Recurring Event, your options will be a bit different –

Or

Depending on if it’s an occurrence or not! The options do what they say they do, and create copies of events / remove recurrences as necessary. The display may change slightly, but it should be very automatic and make sense!
Step 5: Delete an event
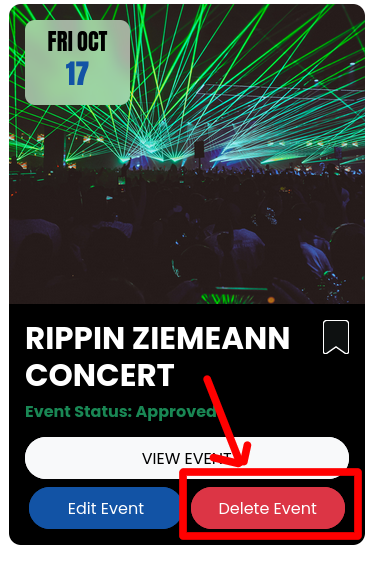
Deleting an event is similar to editing! Navigate to the MINE tab:
And then press the “Delete Event” button on the event you wish to delete
This will bring you to a pop-up with a few options!
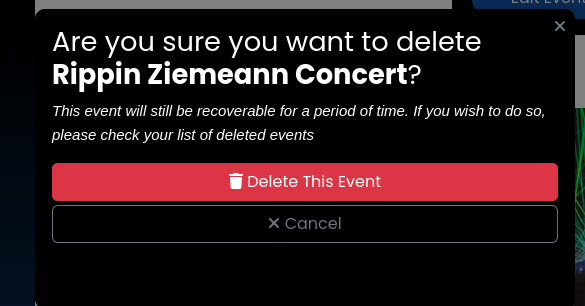
The options on a recurring event are a bit different:
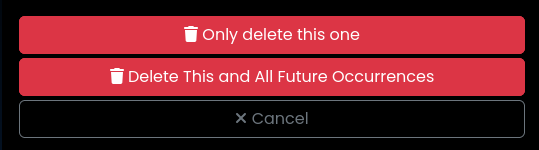
Giving you nice fine control over what you do. But, yes! Simply press whichever delete button is most amicable to what you want to do!
Accidentally deleted an event? No worries! You can always recover deleted events in the Recover Deleted tab – just note these events will be PERMANENTLY DESTROYED 30 days after they were deleted, so if you want to keep them around remember to do that quickly!
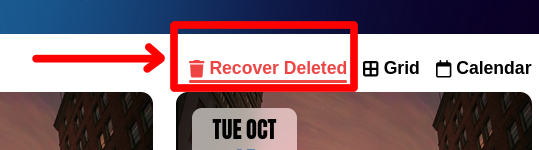
And, don’t worry – deleted occurrences of events will appear here too!
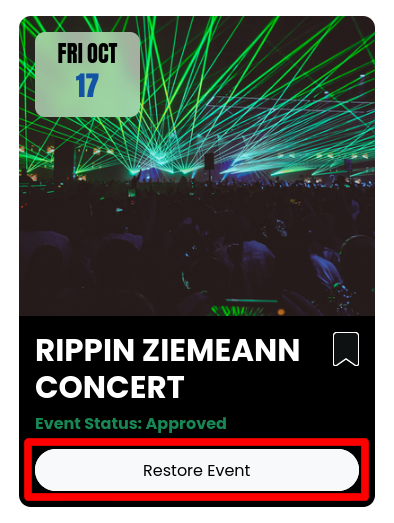
If you want to restore the event, simply press Restore Event!
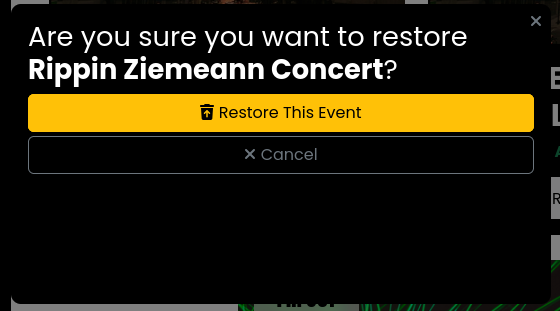
This will bring you to a confirmation pop-up – simply press Restore This Event!
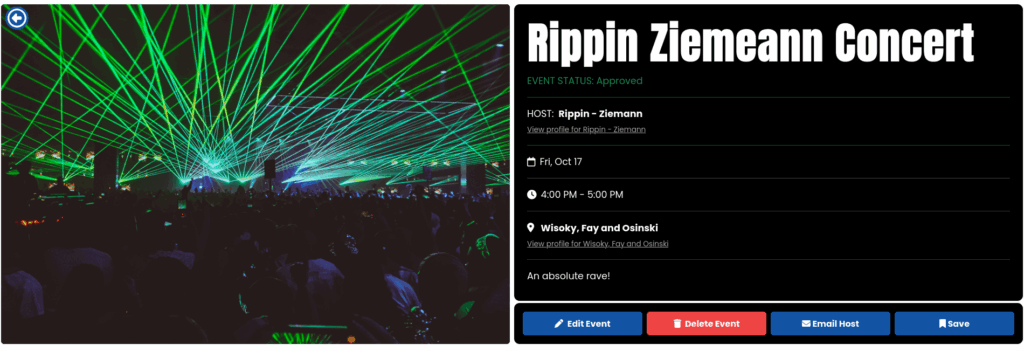
Step 6: Admire your work!
Wow – just look at that event!
In the list view:
And in the details view: