HOW TO: Manage your Business’s Operating Hours
By: Paul Brinkmann
- Compatible plans: Premium Profile, Advanced Vendor, Service Provider
- Compatible categories: Food, Bars, Vendors, Art, Parks, Venues, All Service Providers
Step 1: Navigate to your Business Dashboard
Prefer a link? Right here: sceneit.us/dm/my-business
Otherwise, press the Log In button:

On mobile:

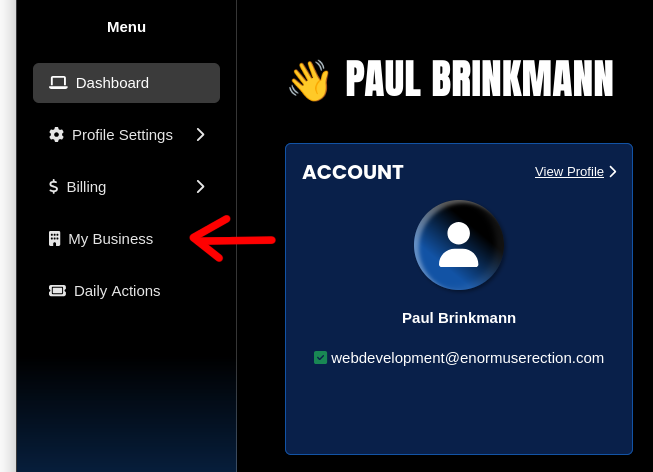
Then, once you’ve logged in, you’ll see a page that looks like this:
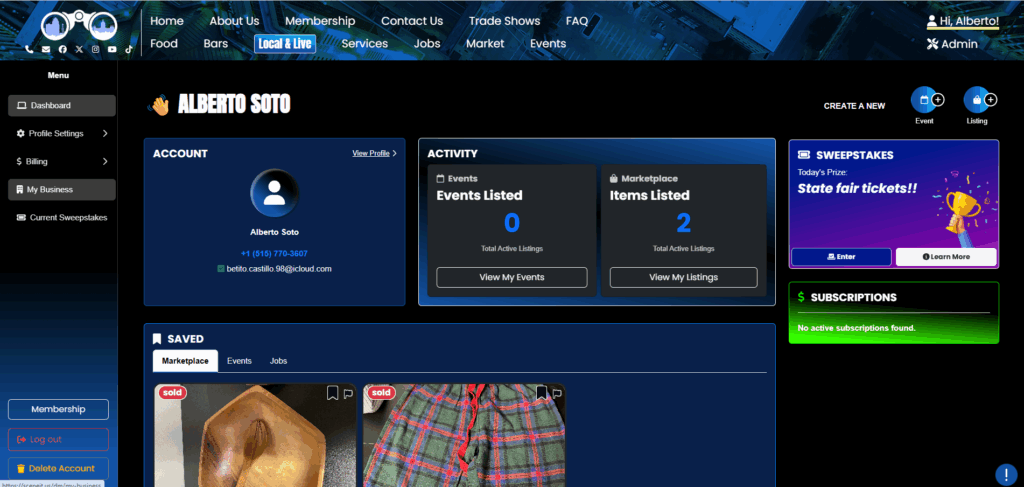
Hover over the menu in the left and press My Business! On mobile, it will just be there 🙂
Step 2: Navigate to the “Operating Hours” section of your Business’s Dashboard
Here, you’ll see your Business Dashboard! This is what it will look like:
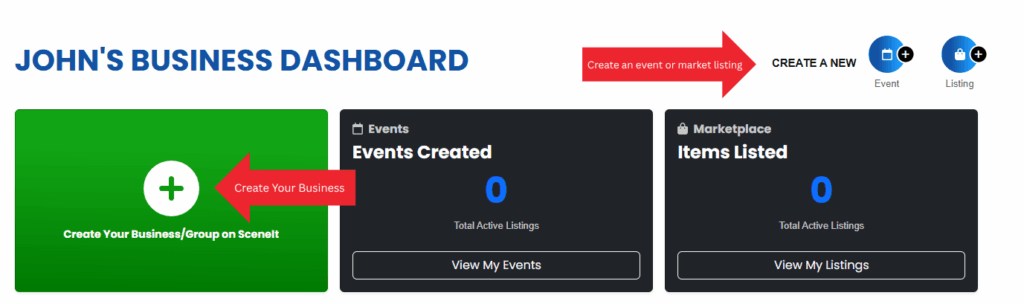
Or
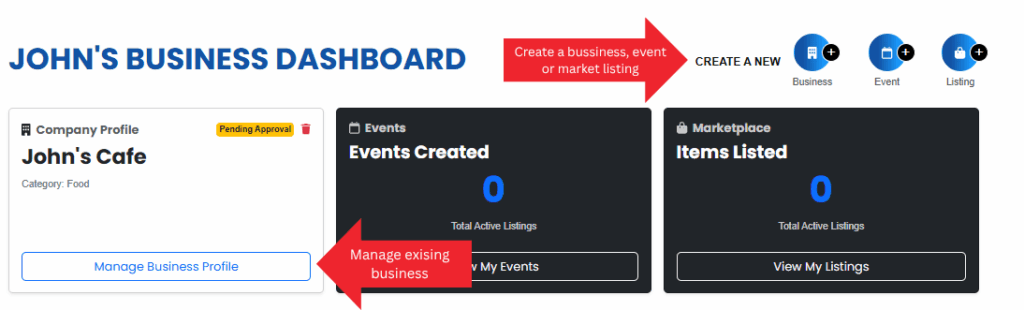
Depending on whether or not your business is already in our system and associated with your account. For more information on this view, check out HOW TO: Create and Manage Your Business
Once you have a business in our system, press the Manage Business Profile button on the business you wish to manage the operating hours on!
Once you reach the Business Menu, you will see this tab:
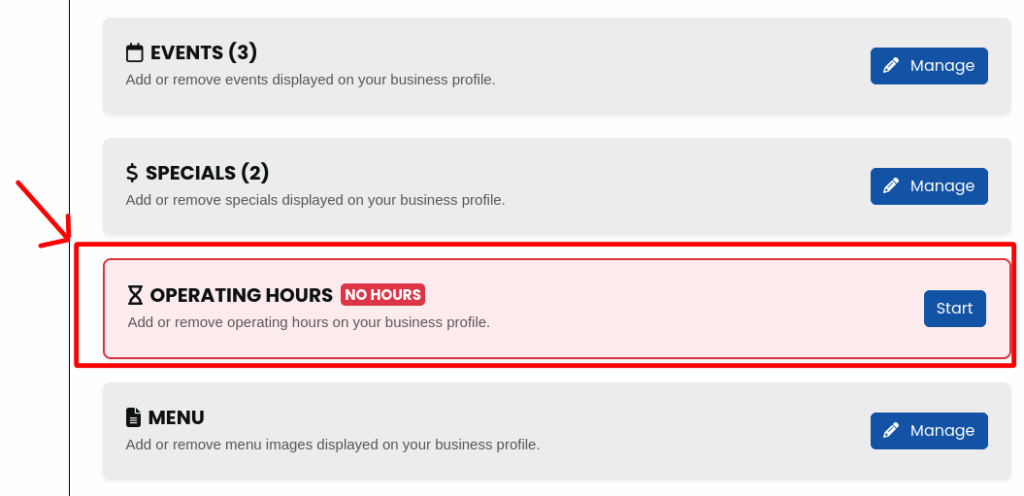
NOTE: You must be on one of the Premium Profile, Advanced Vendor, or Service Provider plans to have this feature. To learn how to upgrade, check out HOW TO: Manage Your Business’s Plan
Step 3: Operating Hours page overview
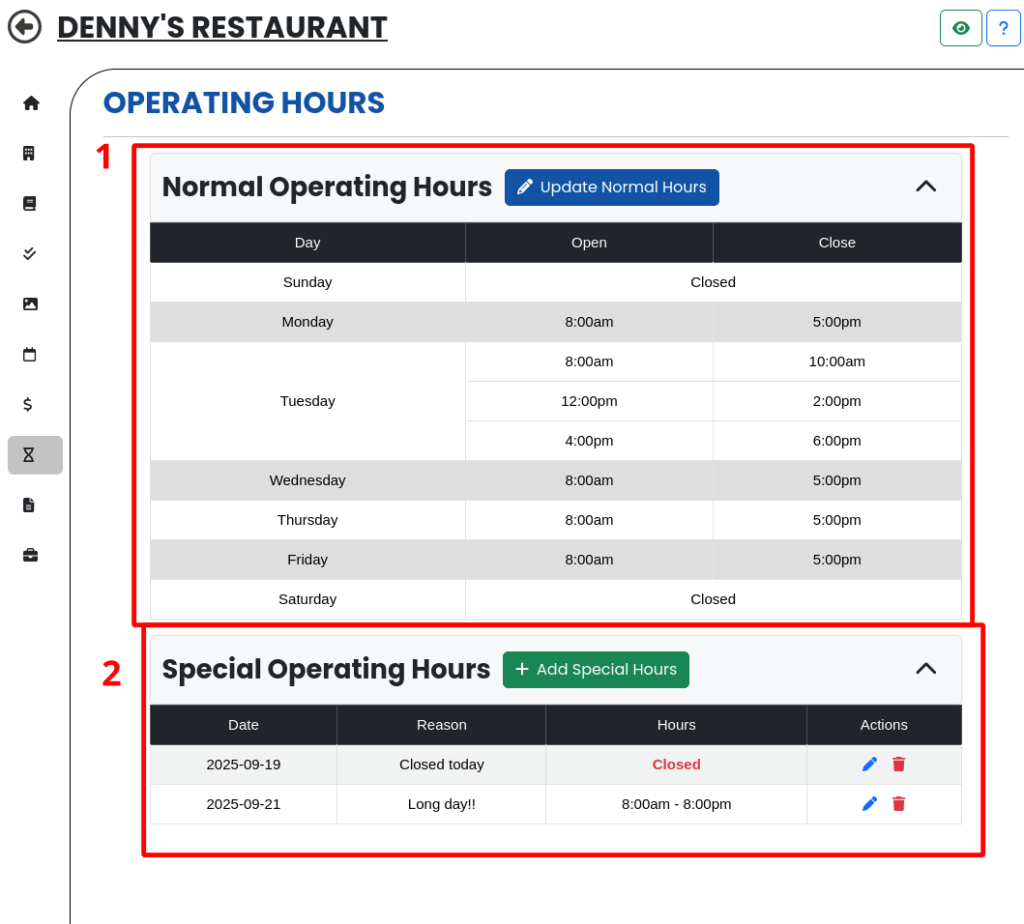
- The Normal Hours Section – This section is for the hours customers can expect your business to normally be open. You can split it up too, as you can see above!
- The Special Hours Section – This section allows you to indicate to customers when your business is closed or open for different hours than your normal hours. Maybe its a holiday, or maybe just a special day for your business – regardless, you can add that here!!
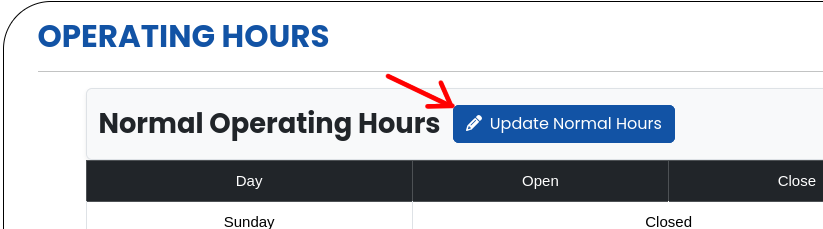
Step 4: Manage Normal Hours
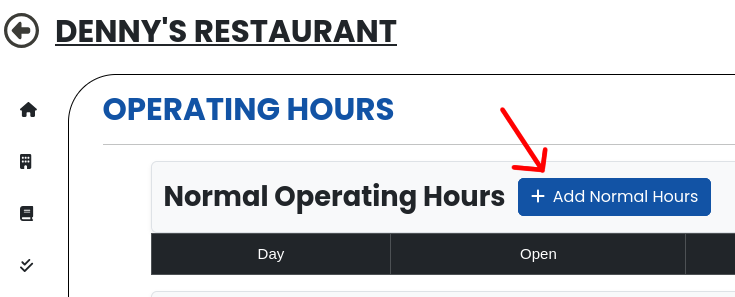
First, click on the 🖊️ Update Normal Hours button! (It might say “+ Add Normal Hours” if you haven’t added normal hours yet – don’t worry, they take you to the same place!)
or
That will bring you to this form:
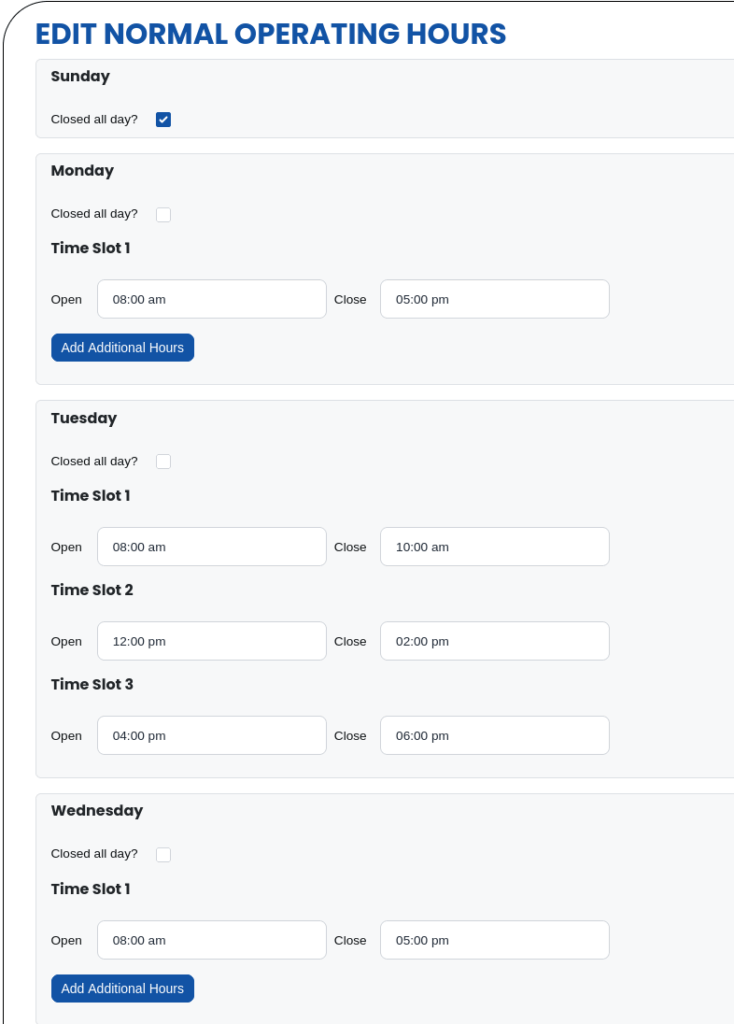
It will automatically default to say you’re open from 8-5 on weekdays, but you can change this to say whatever you want! To achieve the split hours, press Add Additional Hours on the day you want to have split hours. You can have up to three separate sections, as you can see with my Tuesday!
You can also check “Closed all day” to indicate that you’re closed that day!
Once you’re done editing your hours, scroll to the bottom of the form and press the 🖊️ Update Normal Hours button!

Step 5: Special Hours
Step 5.1: Add Special Hours
First, press the + Add Special Hours button!

That will bring you to this form!
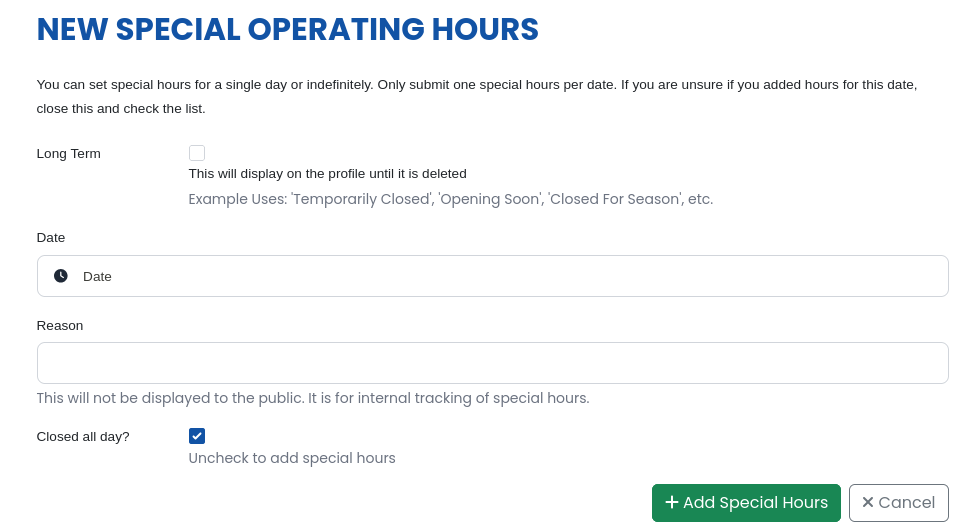
For special hours, you can either set a specific date or check “Long Term“. The “Long Term” option will override all hours options until it is removed. This is primarily intended for something like being temporarily closed or opening soon or something like that!
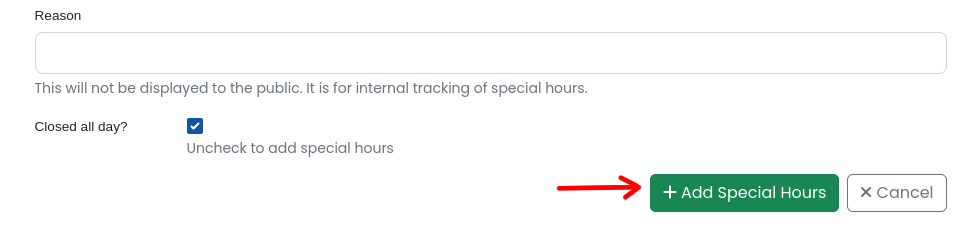
Once you fill out the form to your liking, press the + Add Special Hours button!
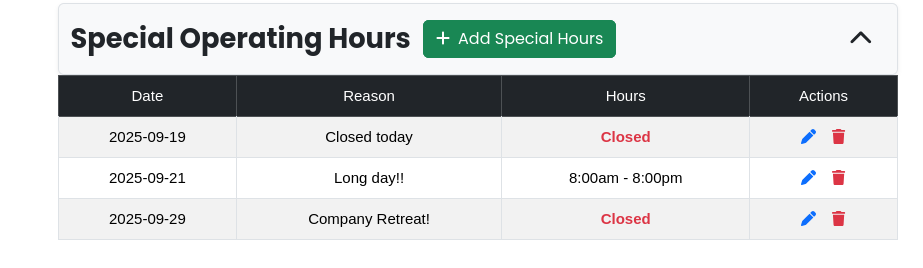
And boom, there you can see your special hours!
Step 5.2: Update Special Hours
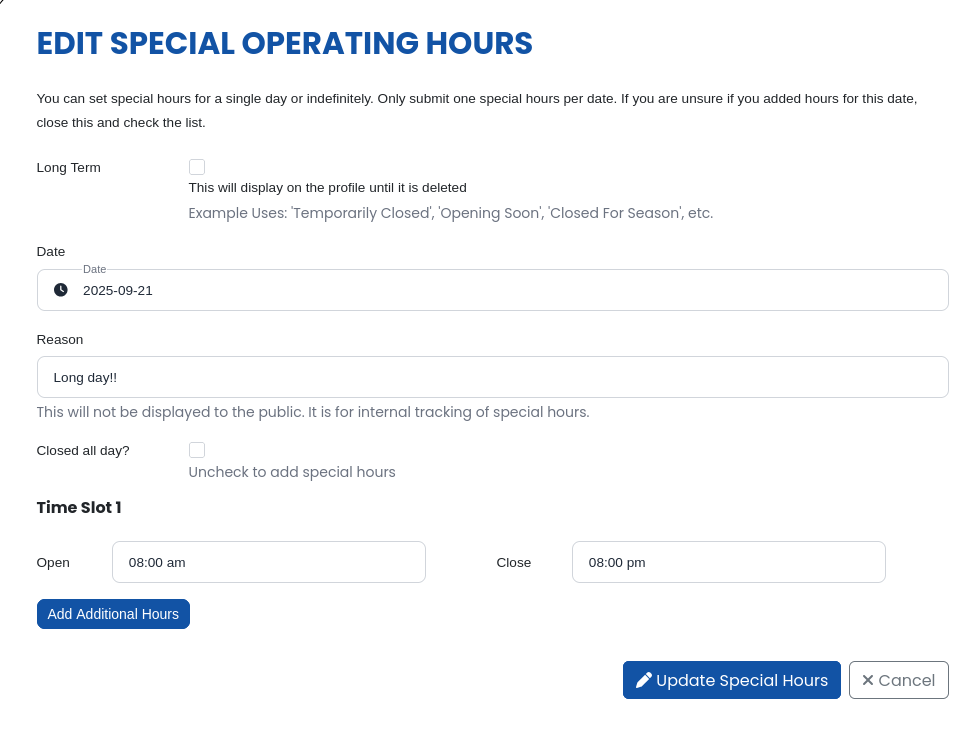
To edit Special hours, press the blue 🖊️ icon next to the one you want to edit! That will bring you to a populated version of this form:
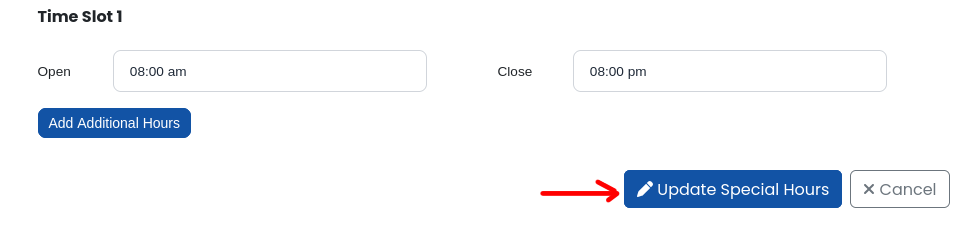
Once you’re done making changes, press the 🖊️ Update Special Hours button in the bottom right and your changes will be saved!
Step 5.3: Remove Special Hours
To remove special hours, press the 🗑️Trash Can icon next to the one you want to remove! That will prompt you with a confirmation dialogue:
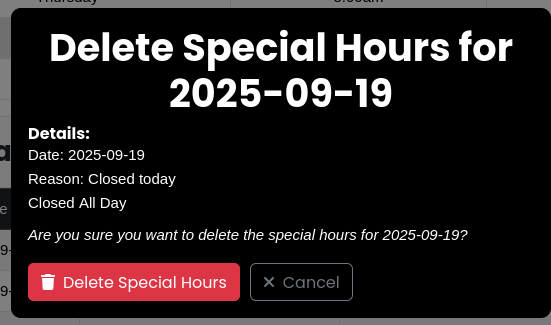
NOTE: Special hours are not recoverable, once deleted they are gone forever!!!
Then, as long as you’re sure, press 🗑️Delete Special Hours!
Step 6: Admire your work!
I’ve created a few more events to spruce up my event portfolio
To see yours, click on the green 👁️ eyeball in the top right of your Business Menu, or navigate back to the Overview on mobile and find it there!

mobile:

Here’s what mine looks like:

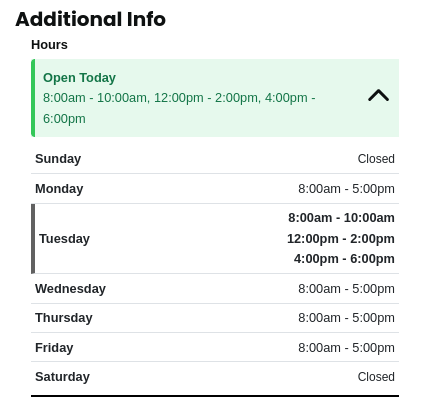
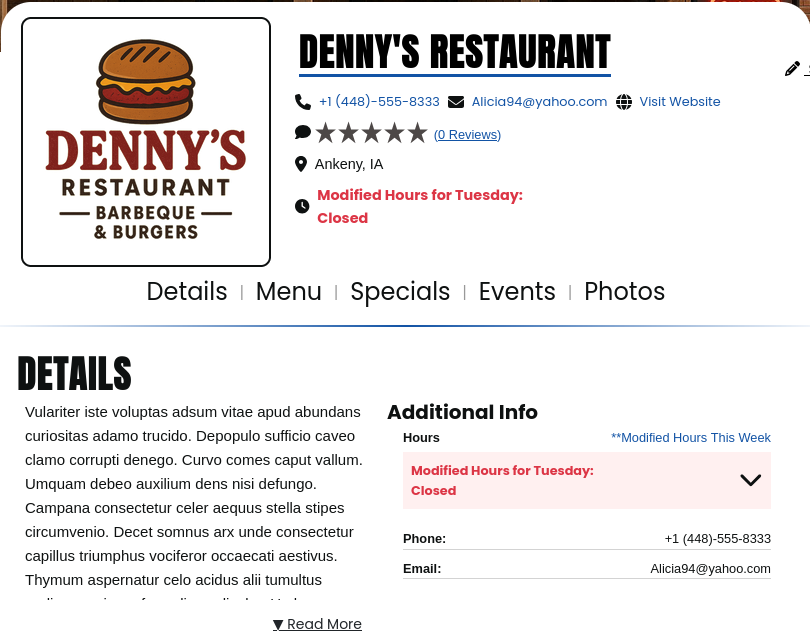
And, here’s a screenshot where my Special Hours are in effect!
Thank you for trusting SceneIT with your business! Don’t hesitate to contact us if you have any questions or need any help!