HOW TO: Manage your Business’s Photo Gallery
By: Paul Brinkmann
- Compatible plans: Premium Profile, Advanced Vendor, Service Provider
- Compatible categories: All
Step 1: Navigate to your Business Dashboard
Prefer a link? Right here: sceneit.us/dm/my-business
Otherwise, press the Log In button:

On mobile:

Then, once you’ve logged in, you’ll see a page that looks like this:
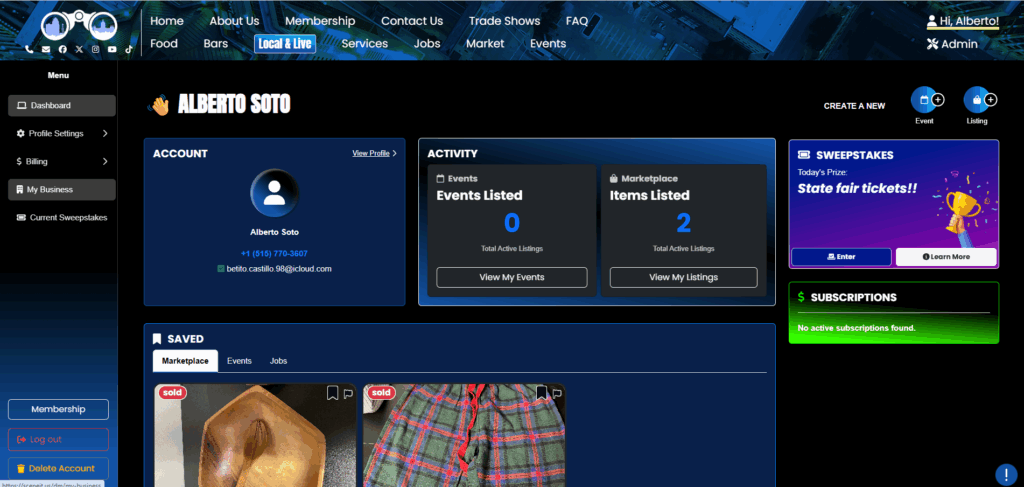
Hover over the menu in the left and press My Business! On mobile, it will just be there 🙂

Step 2: Navigate to the “Photo Gallery” section of your Business
Here, you’ll see your Business Dashboard! This is what it will look like:

Or

Depending on whether or not your business is already in our system and associated with your account. For more information on this view, check out HOW TO: Create and Manage Your Business
Once you have a business in our system, press the Manage Business Profile button on the business you wish to manage the gallery on!
Once you reach the Business Menu, you will see this tab:
NOTE: You must be on one of the Premium Profile, Advanced Vendor, or Service Provider plans to have a photo gallery. To learn how to upgrade, check out HOW TO: Manage Your Business’s Plan
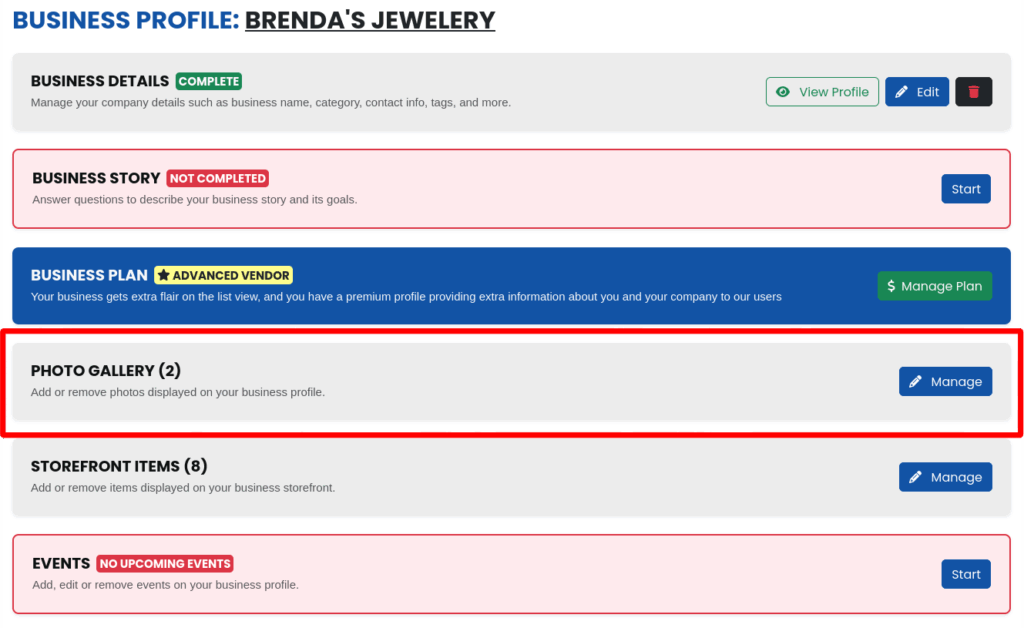
Step 3: Page Overview

- The Active and Deleted tabs – these show you which list of items you’re looking at!
- The + Add Image button – this allows you to add a gallery image!
- Your images – These are the images you have in your gallery currently!
Now, on this one you’ll notice extra controls and information that come up when you hover over an image! We’ll go over those as well

- 🖊️ Edit button – allows you to edit the image you are currently hovering over!
- 🗑️ Delete button – allows you to remove the current image from your gallery!
- Title – this is the title of your image!
You can also view a full size version of the image by clicking on it! The controls match the other parts of this section, so I’ll just show you this one 🙂
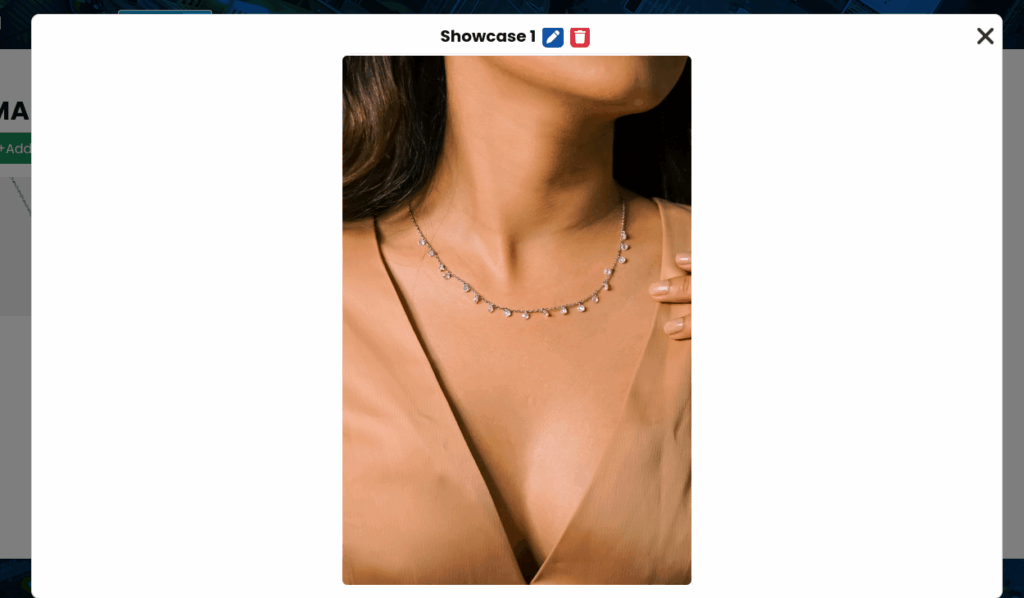
Step 4: Adding an Image
First, press the + Add Image button highlighted in Step 3!

That will bring you to this view!
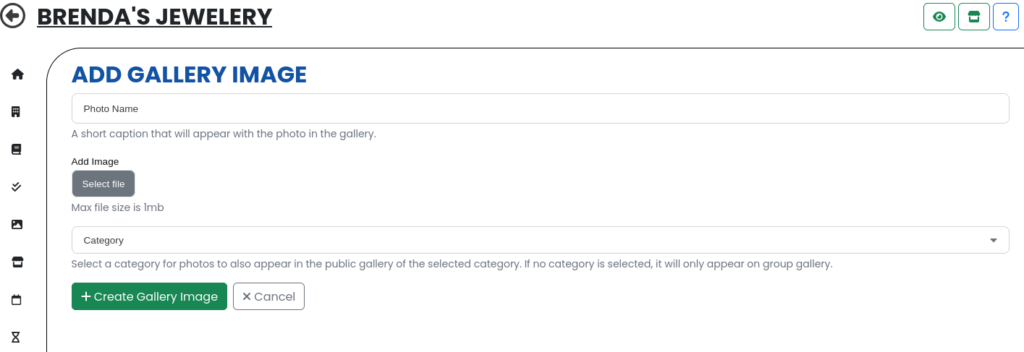
Here, you only have to input a name and an image – category is optional!! If you select an image category, it will also appear on this page of our site:
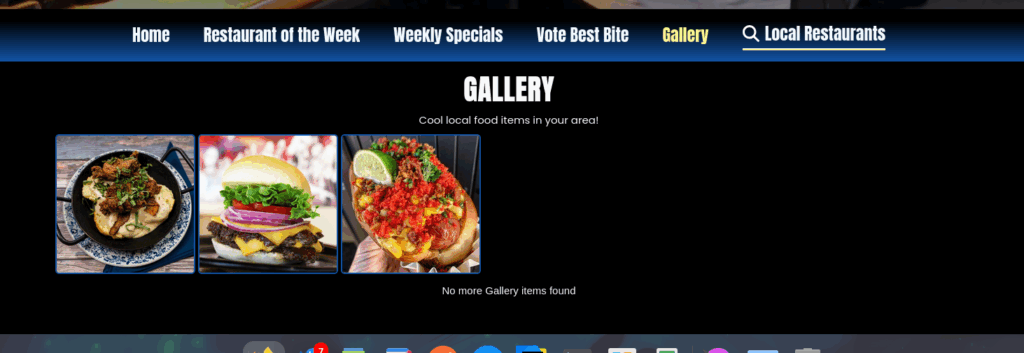
For the category you select! NOTE: Not all categories have a gallery, so if you don’t see yours in the drop-down that’s why! Don’t worry, if we ever add that we’ll let you know 😉
Once you’re done, press the + Create Gallery Image button!
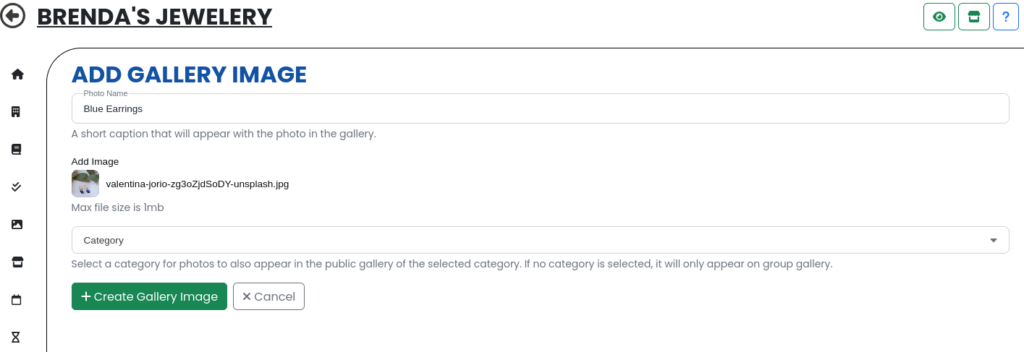
And boom! There it is! Epic!

Step 5: Editing or changing an Image
We do not have a fancy image editor built into our site (YET), so unfortunately you will have to do your editing before you upload, and we do not (CURRENTLY) allow you to replace the image. However, you can use the edit button to change the name or the category the image appears under!!
To get to this menu, press one of the 🖊️ Edit buttons highlighted in Step 3!

That will take you to this view:
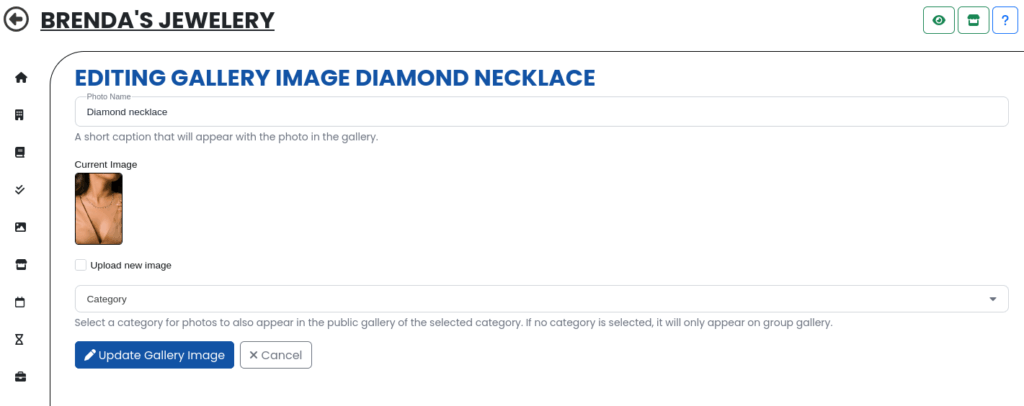
Now I can change the title if I want, and then press 🖊️ update gallery image to save your changes!
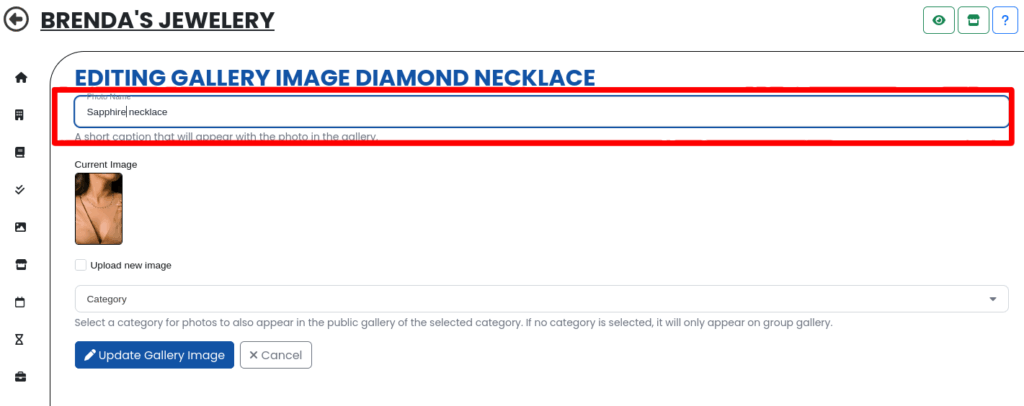
And now, you can see my changes here!

Step 6: Removing an Image
First, press the 🗑️ Delete button highlighted in Step 3!

That will bring up this view:

Then, all you have to do is confirm the deletion! And boom, your image is gone from the public view!

Now, this image will show up in your deleted tab! Switch to it:

And boom, there it is. If you wish to restore it, simply press this button!

You will be asked to confirm!

And it’s back!

Step 7: Admire your work!
Now that you’ve got a beautifully manicured photo gallery for your business, lets go check it out! Navigate to your business’s profile preview:


And look, isn’t that great? 🙂

Here, you’ll notice users can also like images!

 SceneIT BLOG